Peter and Sons Garage Door Chicago
How to Fix a Garage Door Cable
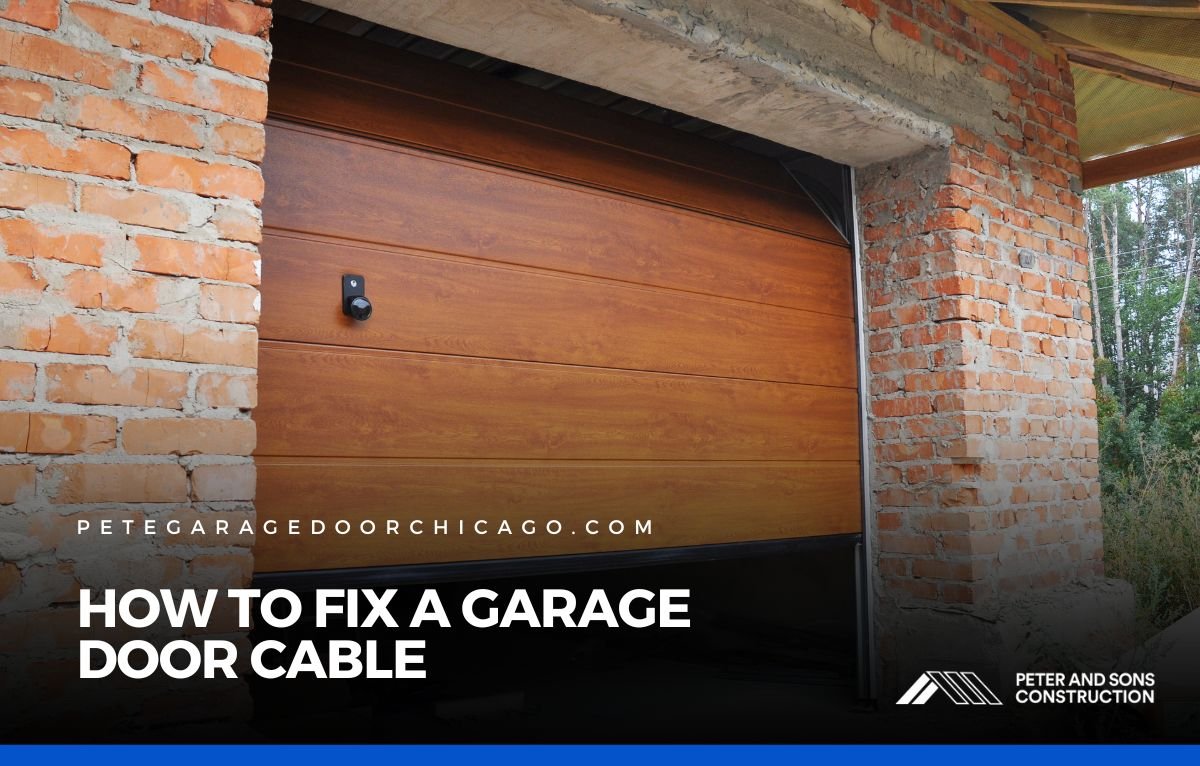
Garage door cables are one of the most overlooked parts of the entire system. They quietly carry the weight of the door, winding and unwinding each time it opens and closes.
But when a cable snaps or comes loose, the entire system becomes unbalanced. Suddenly the door feels heavy, sits crooked, or won’t move at all.
Knowing how to fix a garage door cable is a skill that can save you frustration, money, and unnecessary wear on your garage door opener.
Why Garage Door Cables Fail
Cables don’t usually break out of nowhere. More often, they wear down over years of use. The constant pulling against heavy springs puts stress on the wires until they fray.
Exposure to moisture can also lead to rust, which weakens the steel. Sometimes, the cable doesn’t break but instead slips out of place, often caused by uneven spring tension or a blocked track.
These small issues might seem minor at first. But a cable that’s out of line makes the entire door unstable. If ignored, the extra strain can warp the track, damage the opener, or even cause the door to jam completely.
Safety First Before Attempting Repairs
Before thinking about how to fix a garage door cable, it’s important to understand the risks. Garage doors are heavy, and the torsion springs that balance them are under high tension. Working around those parts requires patience and safety precautions.
Always disconnect the power to the opener before doing anything. Lock the door in place by clamping the tracks below the rollers. Wear gloves to protect your hands, and don’t attempt a repair if the spring looks broken. Those situations call for professional service.
Step One: Figure Out the Type of Damage
Not all cable issues require the same solution. There are two common scenarios:
- The cable has snapped completely. This requires a replacement, since a broken cable cannot be patched or reused.
- The cable has slipped off the drum. In this case, you may be able to reattach it without replacing the part.
Taking a close look before you start saves time and helps you avoid doing extra work.
How to Reattach a Loose Cable
If the cable is intact but off the drum, you’ll need to thread it back into place. Begin at the bottom bracket, then guide it up to the drum above. Rotate the drum by hand to wind the cable evenly into the grooves. Once it’s snug, secure the drum with its set screws and check that both sides are even.
It’s common for people to make mistakes here by letting the cable overlap or by leaving slack. Either issue can cause the cable to slip off again. Make sure the grooves are lined up properly before tightening.
Replacing a Broken Cable
If the cable has snapped, you’ll need to remove it entirely. Disconnect it from the bottom bracket and unwind it from the drum. Install a new cable of the same length and thickness, threading it through the same path as the old one. Attach it securely to the bracket, then wind it onto the drum carefully.
Always replace both cables if one breaks. A mismatched set can cause uneven tension, which often leads to further problems.
Signs It’s Time to Replace Instead of Repair
Sometimes people try to reuse a cable that looks only slightly frayed. That’s usually a mistake. Once a cable shows visible damage, it’s only a matter of time before it fails. Rust spots, broken wire strands, or kinks are all indicators that replacement is the safer option.
Also, if the cable keeps slipping off even after you’ve reattached it, the real problem might be an unbalanced spring or a worn drum. In these cases, reattaching the cable is only treating the symptom, not the cause.
Ongoing Maintenance Keeps Cables in Shape
Cables don’t last forever, but you can extend their life by keeping up with simple maintenance. A routine checkup a few times a year helps you spot problems early and keeps the whole system running smoothly.
- Inspect the cables for rust, fraying, or loose strands
- Wipe the tracks clean and keep them free of dirt or leaves
- Lubricate moving parts like rollers and hinges with a silicone spray
- Check the door’s balance by lifting it halfway manually
- Tighten bolts and brackets that may have loosened with use
Spending a few minutes on these tasks can save you from dealing with a cable replacement at the worst possible time.
When to Call a Professional
There’s a limit to what you should attempt on your own. Fixing a garage door cable is possible for a handy homeowner, but not if the problem is connected to the springs. Torsion springs carry a huge amount of force and can cause serious injury if handled incorrectly.
If your door feels unbalanced, slams shut, or makes loud popping noises, that’s a sign the springs need adjustment. In that situation, leave the repair to a technician. It’s safer and often faster than trying to manage it on your own.
Don’t Wait Until It Breaks
Learning how to fix a garage door cable puts you in control when problems come up, but waiting until it snaps completely can leave you stuck with a door that won’t move. Taking action at the first signs of wear saves you from costly repairs and keeps your garage door working reliably.
At Peter and Sons Construction, we help homeowners in Niles and the surrounding area repair and replace garage door cables safely. If your door is stuck, uneven, or showing cable wear, we’re ready to get it back in shape quickly and correctly.
You might like these