September 26, 2025
A noisy garage door can be frustrating. The rattling panels, loud vibrations, or the sound of traffic spilling into your garage can make the space less comfortable to use.
Many homeowners looking to improve this situation often ask how garage door insulation affects noise reduction.
The answer is simple: insulated doors are quieter, sturdier, and help create a calmer environment inside the garage and nearby rooms.
Let’s break down why that is and what options you have.
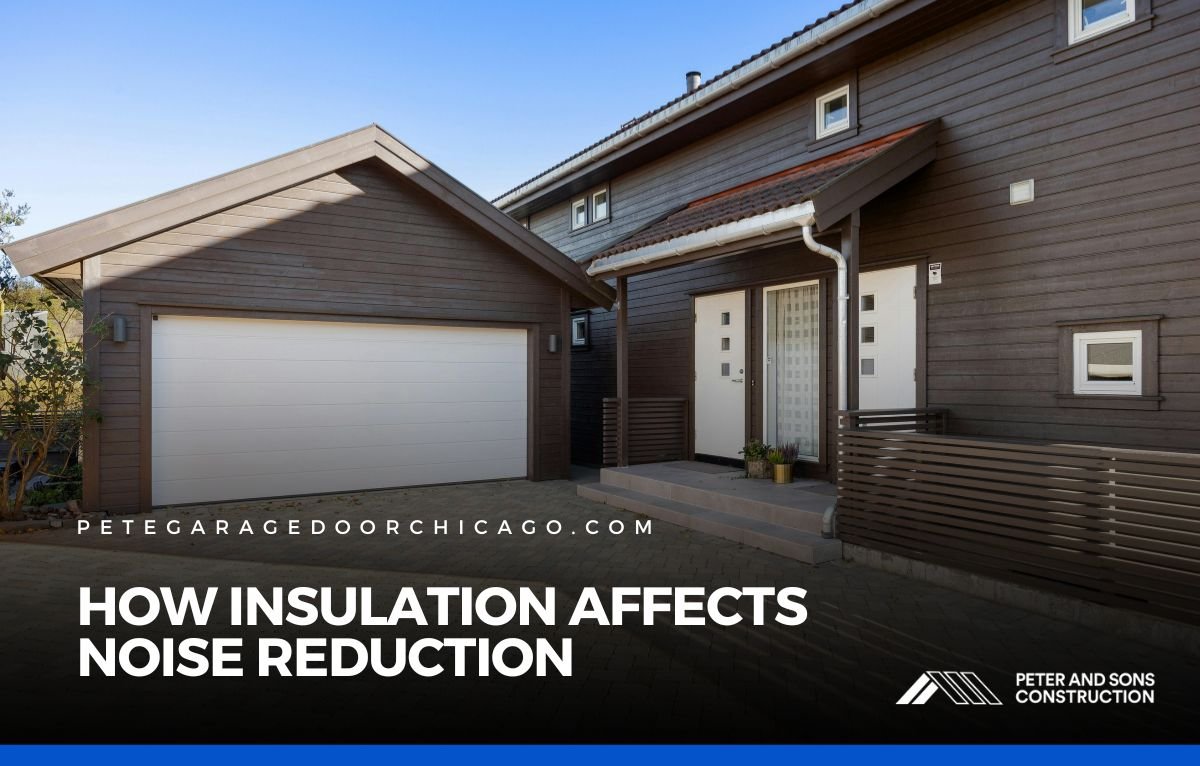
How Garage Door Insulation Affects Noise Reduction
Noise travels easily through thin materials. Standard garage doors, especially single-layer steel doors, act almost like drums—vibrations pass through them with little resistance.
Adding insulation changes that by creating a dense barrier. The extra layers reduce vibration, block outside sounds, and muffle the movement of the door itself.
So, how garage door insulation affects noise reduction comes down to two things: it blocks external noises like traffic, barking dogs, or neighbors’ activities, and it softens the internal sounds of the door opening and closing.
If your garage is attached to the house, the difference is especially noticeable in nearby living spaces.
Why Are Insulated Garage Doors Quieter?
Insulated garage doors are quieter because they are built with multiple layers—typically steel, insulation, and a backing material—that add both weight and stiffness.
This solid construction prevents the panels from rattling and reduces the echo often heard inside non-insulated garages.
For example, a single-layer steel door can shake and vibrate with every opener cycle, creating a hollow banging sound.
A double-layer door with polystyrene foam feels sturdier and cuts down on those noises, while a triple-layer door with polyurethane insulation offers the best performance by absorbing vibrations and dampening sound significantly.
This layered design clearly shows how garage door insulation affects noise reduction by adding mass, rigidity, and a buffer between the source of the noise and your living space.
What Types of Insulation Work Best for Soundproofing?
Not all insulation is created equal when it comes to reducing noise. Here are the most common types and how they perform:
- Polystyrene Panels: Basic foam sheets. Good at reducing some vibration but not as effective for high-level noise reduction.
- Polyurethane Foam: Denser and stronger. This type bonds directly to the garage door panels, which minimizes flexing and rattling. It’s the best option if noise reduction is a priority.
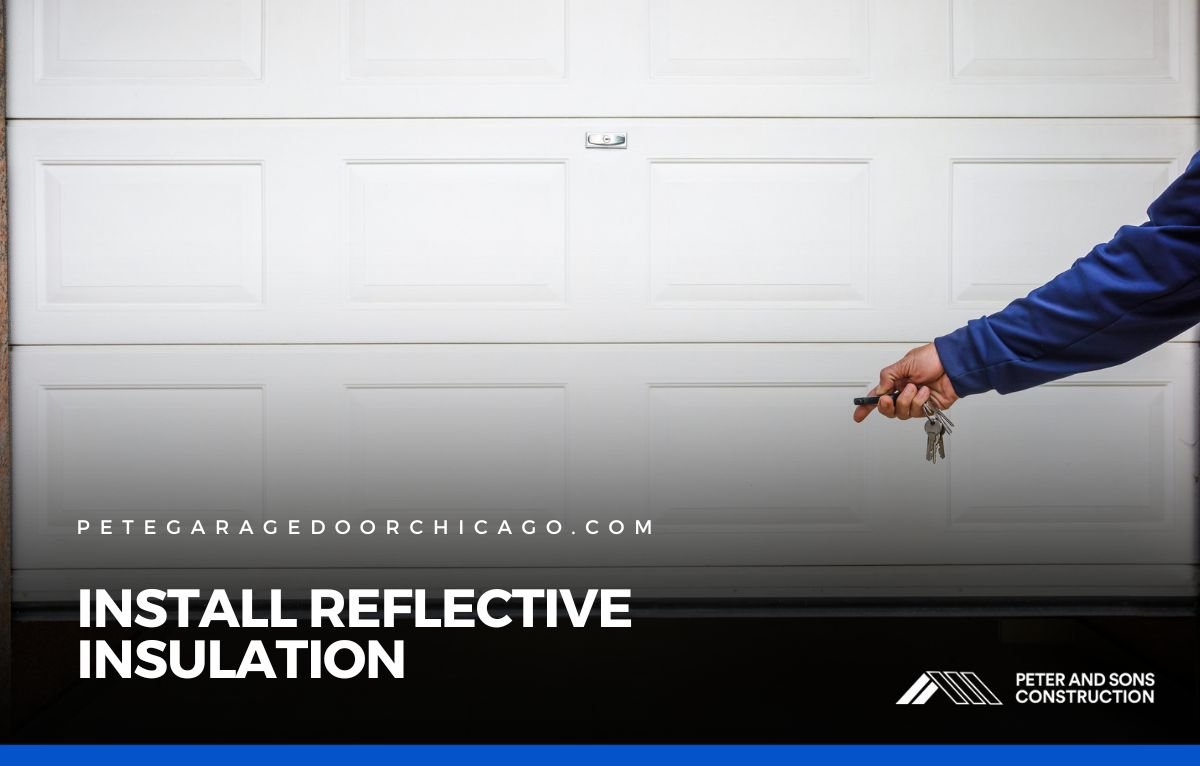
- Reflective Foil Insulation: Designed more for radiant heat control. While it offers some sound dampening, it’s not as effective as foam-based options.
If your main concern is how garage door insulation affects noise reduction, polyurethane is the clear winner.
Can Insulation Reduce Noise From the Garage Opener?
Yes, but only to a point. Much of the noise from a garage comes from the opener and the hardware (chains, tracks, rollers).
Insulation helps reduce the echo inside the garage, but it won’t completely eliminate mechanical sounds.
For the quietest results, pair insulated doors with a belt-drive opener and nylon rollers.
This combination significantly cuts down on the rumbling and squeaking that homeowners often complain about.
What About Outside Noise?
Another way to look at how garage door insulation affects noise reduction is through outside sources. If your garage faces a busy road, an insulated door makes a big difference.
The dense layers absorb much of the noise before it reaches inside. This is particularly valuable if your garage doubles as a workshop, gym, or play area.
For example, a homeowner living on a street with constant traffic noticed that replacing a hollow steel door with a polyurethane-insulated model reduced indoor noise levels by almost half.
While it won’t block out everything, the improvement is significant enough to change how comfortably the garage can be used.
Added Comfort Benefits of Insulated Doors
Noise reduction is only part of the story. Insulated garage doors also regulate temperature, improve energy efficiency, and add durability.
Together, these benefits create a garage space that’s not only quieter but also more practical year-round.
Some key advantages include:
- More Comfortable Workspaces: If you use your garage as a hobby area or gym, you’ll appreciate both the quieter environment and more stable temperatures.
- Better Protection for Belongings: Insulated doors reduce heat and cold swings that can damage tools, electronics, or even your car battery.
- Stronger, Longer-Lasting Doors: Insulation reinforces the panels, making them more resistant to dents and daily wear.
This combination of features shows why many homeowners choose to upgrade even when noise reduction is their main goal.
Should You Upgrade or Retrofit?
If your garage door is still in good condition, retrofit insulation kits can add some noise control at a lower cost.
However, they rarely match the performance of factory-insulated doors. Retrofitted panels may loosen over time, reducing their effectiveness.
For the best and longest-lasting results, upgrading to a professionally installed insulated door is the way to go. Modern models are engineered specifically to address noise, energy use, and durability.
Takeaway
So, how garage door insulation affects noise reduction comes down to its ability to block vibrations, absorb sound, and create a calmer environment.
By adding insulation, you not only reduce the hollow banging of the door but also cut down on outside noise.
Pair it with a modern opener and well-maintained hardware, and your garage becomes noticeably quieter and more comfortable.
If you live in Niles, IL or nearby, Peter and Sons Constructions can help you choose and install the right insulated garage door for your home.
The result: a garage that’s stronger, quieter, and better suited to your lifestyle.
You might like these