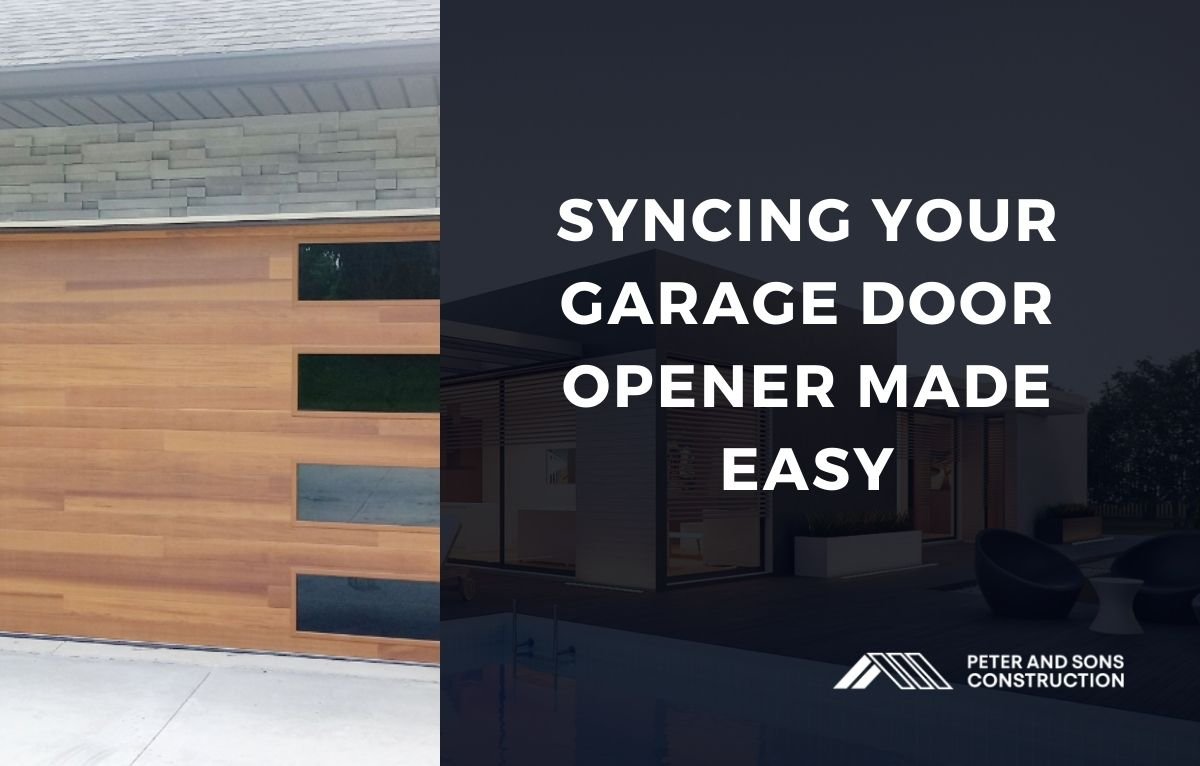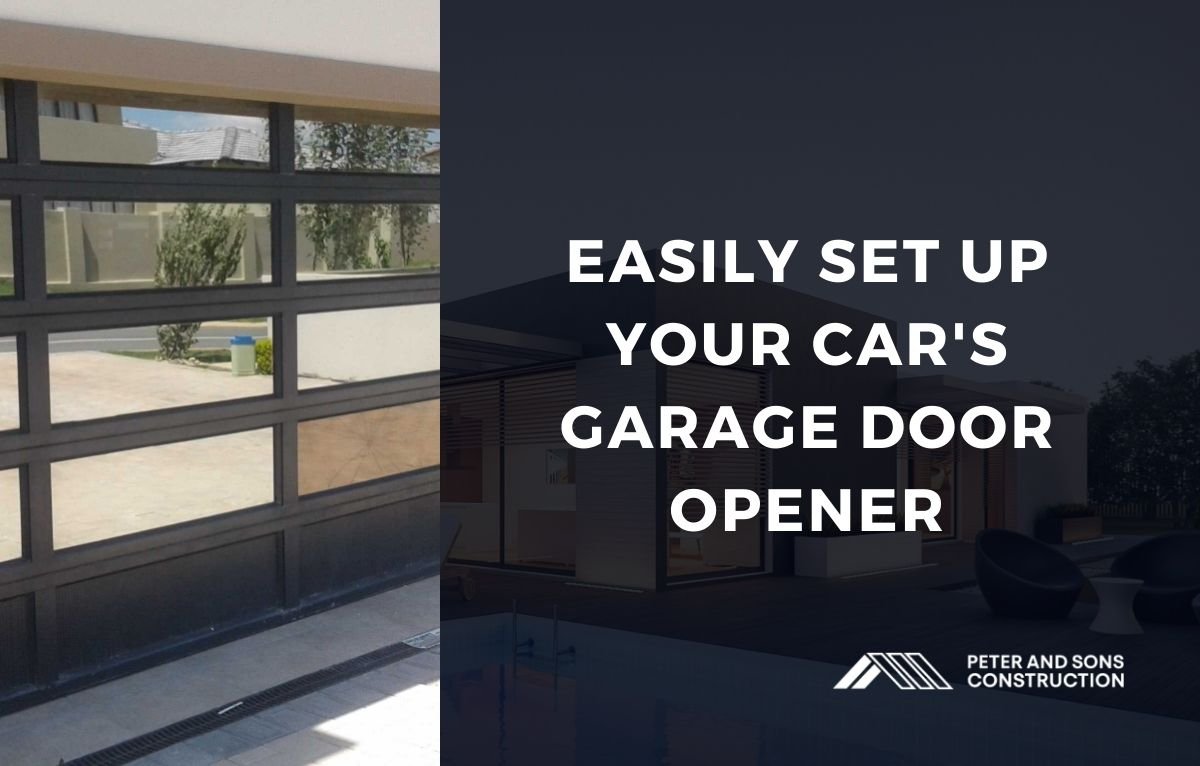
Syncing Your Garage Door Opener Made Easy
Setting up a garage door opener in your car can streamline your daily routine, providing convenient and secure access to your home. This process involves programming your car’s built-in garage door opener system to communicate with your garage door opener. In this article, we will guide you through the steps to successfully set up your garage door opener in your car.
Understanding Your Garage Door Opener System
Identify Your Garage Door Opener Type
Before you begin, it’s important to know the type of garage door opener you have. Most systems fall into one of the following categories:
- Standard garage door openers – These typically use a remote control for operation.
- Rolling code openers – These use a changing code for enhanced security.
- Smart garage door openers – These can be operated via a smartphone app.
Check Your Car’s Compatibility
Ensure that your car is equipped with a built-in garage door opener system, often referred to as HomeLink or Car2U. These systems are usually found in the overhead console or rearview mirror of the car.
Setting Up the Garage Door Opener in Your Car
Step 1: Clear Previous Settings
Before you start programming your car’s garage door opener, clear any previous settings. This ensures a clean slate for the new programming:
- Press and hold – Simultaneously press and hold the two outer buttons on your car’s garage door opener system until the indicator light begins to flash (usually about 20 seconds).
Step 2: Program the Remote Control
Next, program your car’s system to recognize your garage door opener’s remote control:
- Hold the remote – Hold the remote control for your garage door opener near the car’s built-in opener system.
- Press and hold both buttons – Press and hold the button on your remote control and the button you wish to program in your car simultaneously. Continue to hold until the car’s indicator light changes from a slow blink to a rapid blink.
Step 3: Sync with the Garage Door Opener
After programming the remote, sync your car’s system with the garage door opener:
- Locate the “Learn” button – This button is typically found on the garage door opener motor unit.
- Press the “Learn” button – Press and release the “Learn” button on the garage door opener. An indicator light will begin to blink, signaling that the system is in programming mode.
- Press the programmed button in your car – Within 30 seconds, press the button in your car that you programmed. Hold it until the garage door opener light blinks, indicating successful programming.
Testing the Setup
Verify Operation
To ensure the setup was successful, test the garage door opener:
- Press the car’s programmed button – Press the button you programmed in your car to see if the garage door operates.
- Check for smooth operation – The garage door should open and close smoothly without any delays.
Troubleshooting Common Issues
If the garage door does not respond, consider these troubleshooting tips:
- Repeat the programming steps – Sometimes, the process needs to be repeated.
- Check battery levels – Ensure the remote control and car system have sufficient battery power.
- Consult the manual: Refer to your car’s and garage door opener’s manuals for specific instructions.
Advanced Features and Settings
Using Smart Garage Door Openers
For those with smart garage door openers, additional features might be available:
- App integration – Download the relevant app for your garage door opener to control it via your smartphone.
- Voice control – Integrate with voice assistants like Alexa or Google Assistant for hands-free operation.
Security Enhancements
Enhance the security of your garage door opener system:
- Rolling code technology – Ensure your system uses rolling codes to prevent hacking.
- Regular updates – Keep your smart garage door opener’s software updated to patch any security vulnerabilities.
Conclusion
Setting up your garage door opener in your car enhances convenience and security, making your daily routine smoother. By following these steps, you can easily program your car to operate your garage door. If you encounter any issues or need professional assistance, contact Peter and Sons Garage Door Chicago. Our experienced team is ready to help with all your garage door needs. Call us today to ensure seamless access to your home with expert support and service!
You might like these