Your commercial garage door is essential in safeguarding your business from the elements. One critical component that is often neglected is the weather stripping.
While it may seem inconsequential, weather stripping is vital for maintaining the integrity of your garage door’s seal.
Here are five signs indicating that your commercial garage door weather stripping requires replacement.
1. Visible Cracks and Gaps
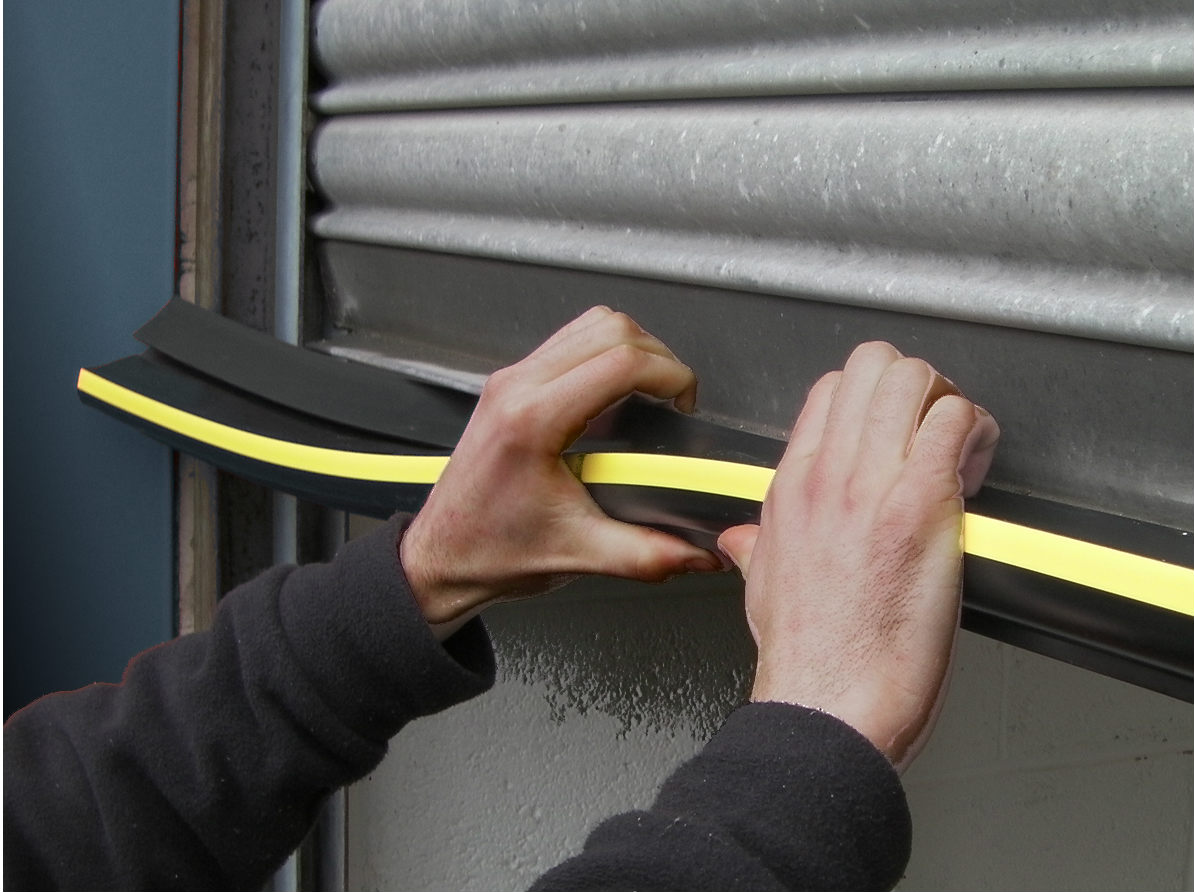
The most obvious sign that your weather stripping needs replacing is visible cracks and gaps. Over time, weather stripping can become brittle and start to crack.
When this happens, it loses its ability to seal properly. If you notice any gaps or cracks, it’s time to replace the weather stripping.
Visible gaps can lead to energy loss as warm or cool air escapes, making your HVAC system work harder.
This not only increases your energy bills but also reduces the comfort level inside your building.
2. Water Leaks
If you see water pooling inside your garage after it rains, your weather stripping might be to blame. Good weather stripping should keep water out.
When it starts to fail, water can seep in, causing damage to your floor and anything stored in the garage. If you notice water leaks, inspect the weather stripping along the bottom of the door. If it’s worn or damaged, it’s time for a replacement.
Water damage can lead to mold and mildew, which are health hazards and can damage the structure of your building. Addressing this issue promptly can save you from costly repairs down the line.
3. Drafts
Drafts are a clear sign that your commercial garage door weather stripping is not doing its job. If you feel cold air coming through the bottom or sides of the door, the weather stripping is likely worn out. This can make it difficult to maintain a consistent temperature inside your garage, impacting both comfort and energy efficiency.
Drafts can also bring in dust, dirt, and pests, making your garage less clean and secure. Replacing the weather stripping will help seal out drafts and keep your garage well-insulated.
4. Increased Energy Bills
A sudden spike in your energy bills can be a sign that your weather stripping is no longer effective. When the weather stripping fails, it allows outside air to enter and conditioned air to escape.
This forces your heating and cooling systems to work harder, increasing your energy consumption.
If you’ve noticed an increase in your energy bills without any other explanation, it might be time to check the weather stripping on your commercial garage door.
Replacing it can help improve energy efficiency and reduce costs.
5. Difficulty Opening or Closing the Door
If your commercial garage door is harder to open or close, worn-out weather stripping could be the cause. When the weather stripping becomes old and brittle, it can create friction that makes the door stick.
This not only affects the operation of the door but can also put extra strain on the opener.
Regularly check the weather stripping and ensure it’s in good condition.
Replacing it when needed can keep your door operating smoothly and prevent wear and tear on the opener.
Time for a Weather Stripping Check-Up
Keeping an eye on your commercial garage door weather stripping is essential for maintaining a comfortable and efficient workspace. If you notice any of these signs, it’s time to replace the weather stripping to avoid further damage and expenses.
For professional help, Peter and Sons offer reliable services to ensure your commercial garage door is in top shape.
Visit Peter and Sons for more information on how they can assist you with your garage door needs.
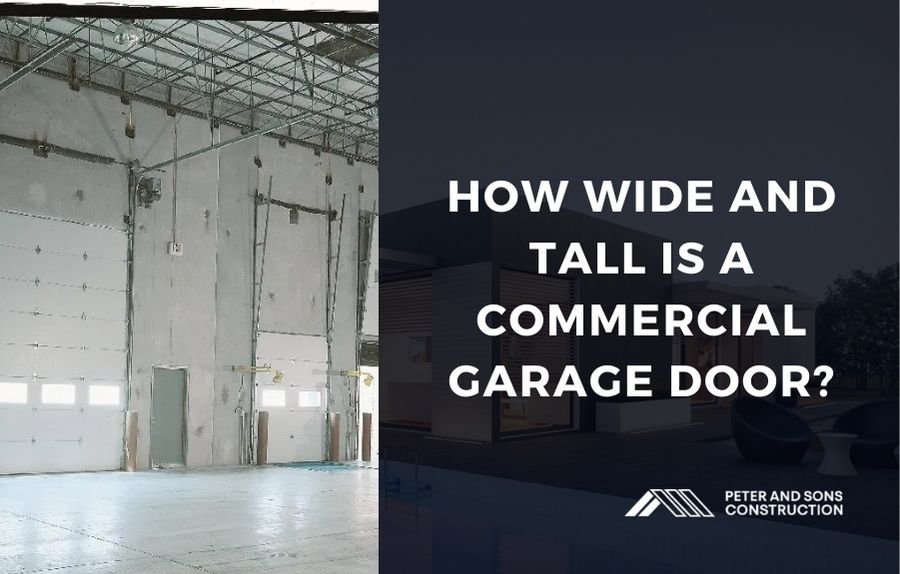
When planning for a new commercial building, one of the essential aspects to consider is the size of the garage doors.
Getting the right size is crucial for ensuring that your business operations run smoothly, whether you’re accommodating large delivery trucks, heavy machinery, or multiple vehicles.
These dimensions cater to a wide range of commercial vehicles and equipment, ensuring easy access and efficient operations.
However, the question, “how wide and tall is a commercial garage door?” doesn’t have a one-size-fits-all answer.
The required dimensions can vary significantly based on the specific needs of the business. For example, a warehouse handling large shipments will need larger doors compared to a smaller commercial establishment like an auto repair shop.
Custom Sizes for Unique Requirements
In many cases, standard sizes may not meet the specific needs of your business. Custom garage doors are often the best solution for such scenarios.
When you opt for a custom size, you can ensure that the door fits perfectly with your facility’s requirements. For instance, if you operate a business that involves oversized vehicles or equipment, a custom door can be designed to accommodate those dimensions.
Learning how wide and tall a commercial garage door should be for your specific situation involves assessing your operational needs.
This might include considering the height of the largest vehicle entering your facility or the amount of clearance needed for safe and efficient movement.
Material and Insulation Considerations
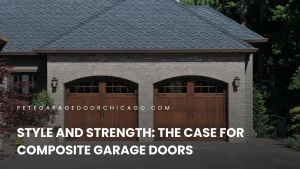
The size of a commercial garage door is not the only factor to consider. The material and insulation of the door are also important. Steel and aluminum are popular choices due to their durability and strength.
Insulated doors are particularly beneficial in climates with extreme temperatures, as they help maintain a stable indoor environment and reduce energy costs.
Choosing the right material and insulation also impacts the door’s overall size and weight, which in turn affects the type of opener and hardware needed.
When figuring out how wide and tall a commercial garage door should be, it’s essential to consider these aspects to ensure a smooth and safe operation.
Installation and Maintenance
Proper installation is key to ensuring that your commercial garage door operates efficiently and safely. Working with experienced professionals can help you avoid common pitfalls and ensure that your door is correctly installed and balanced.
Regular maintenance is also crucial to keep the door in good working condition and to extend its lifespan.
When thinking about how wide and tall a commercial garage door should be, don’t forget the importance of regular checks and servicing.
This includes lubricating moving parts, checking for wear and tear, and ensuring that safety features are functioning correctly.
The Perfect Size for Your Commercial Garage Door
So, how wide and tall is a commercial garage door? The answer depends on your specific needs and the nature of your business. Standard sizes are available, but custom solutions offer the flexibility to meet unique requirements.
When you consider factors such as the types of vehicles and equipment that will use the door, the material and insulation needs, and the importance of professional installation and regular maintenance, you can make an informed decision.
For businesses needing expert advice and reliable products, companies like Peter and Sons offer a wide range of commercial garage doors tailored to meet various needs.
Whether you go for a standard size or a custom design, ensuring that your commercial garage door fits your specific requirements is key to smooth operations and long-term satisfaction.
This switch is crucial for ensuring the smooth and safe operation of your commercial garage door.
In this blog, we will guide you through the step-by-step process of installing a treadle gummed hose switch.
What Is a Treadle Gummed Hose Switch?
Before we proceed with the installation process, it is important to understand the function and significance of a treadle gummed hose switch. This switch is commonly used in commercial environments where large doors frequently need to open and close.
The switch consists of a hose placed on the ground, which, when stepped on, activates the mechanism to open or close the door. This setup is particularly useful in settings that require hands-free operation, such as busy garages and warehouses.
Tools and Materials Needed
Before starting the installation, gather the following tools and materials:
Treadle gummed hose switch kit
Drill with bits
Screwdrivers
Mounting brackets
Screws and anchors
Electrical tape
Wire connectors
Measuring tape
Pencil or marker
Step-by-Step Installation Guide
1. Prepare the Area
First, ensure that the area where you plan to install the switch is clean and free of debris.
This will make the installation process smoother and prevent any potential issues with the switch’s operation.
2. Measure and Mark the Placement
Using a measuring tape, determine the best location for the hose. It should be positioned in a spot where it can be easily stepped on to activate the switch.
Once you’ve found the ideal location, use a pencil or marker to mark the placement of the hose and switch.
3. Install the Hose
Lay the hose on the ground along the marked placement. Ensure it is straight and free of kinks, as any bends or twists can affect its operation.
Once positioned correctly, secure the hose to the ground using the provided mounting brackets and screws. Make sure the hose is firmly in place but not overly tight, as this could damage it.
4. Mount the Switch
Next, mount the switch unit near the hose. The exact location may vary depending on the design of your commercial garage door and the switch kit.
Typically, the switch should be mounted on the wall or a nearby sturdy surface. Use the drill to make pilot holes, then attach the switch using screws and anchors.
5. Connect the Wiring
With the switch securely mounted, it’s time to connect the wiring. This step is crucial and should be done with care to ensure safe and effective operation. Follow the instructions provided with your switch kit for wiring details.
Generally, you will need to connect the switch to the door opener’s control unit. Use wire connectors to secure the connections and wrap them with electrical tape for added safety.
6. Test the Switch
Once all connections are made, it’s time to test the switch. Step on the hose to activate the switch and observe the door’s response.
The door should open or close smoothly without any delays or issues. If the door does not respond correctly, double-check the wiring and ensure all connections are secure.
7. Final Adjustments
If necessary, make any final adjustments to the hose and switch placement. This may involve repositioning the hose slightly or tightening the mounting brackets.
The goal is to ensure that the switch operates reliably every time the hose is stepped on.
Tips for Maintenance
To keep your treadle gummed hose switch in good working condition, regular maintenance is key. Here are some simple tips:
Regular Cleaning
Keep the area around the hose and switch clean and free of debris. Dirt and grime can interfere with the switch’s operation.
Inspect the Hose
Periodically check the hose for any signs of wear or damage. Replace it if necessary to prevent malfunction.
Check Connections
Ensure that all wiring connections remain secure and free from corrosion. Loose or damaged wires can cause operational issues.
Enhancing Efficiency and Safety with a Treadle Gummed Hose Switch
Installing a treadle gummed hose switch for a commercial garage door is a straightforward process that significantly enhances the functionality and safety of your facility.
When you carefully follow these steps, you can ensure a smooth and efficient installation. For high-quality garage door solutions and professional assistance, consider reaching out to Peter and Sons.
They provide a comprehensive range of products and services to meet all your commercial garage door needs.
For more information about their services, visittheir website.
Ensure the garage door opener is unplugged to avoid any electrical mishaps. Safety first! Clear the area where you’ll be working and make sure you have adequate lighting.
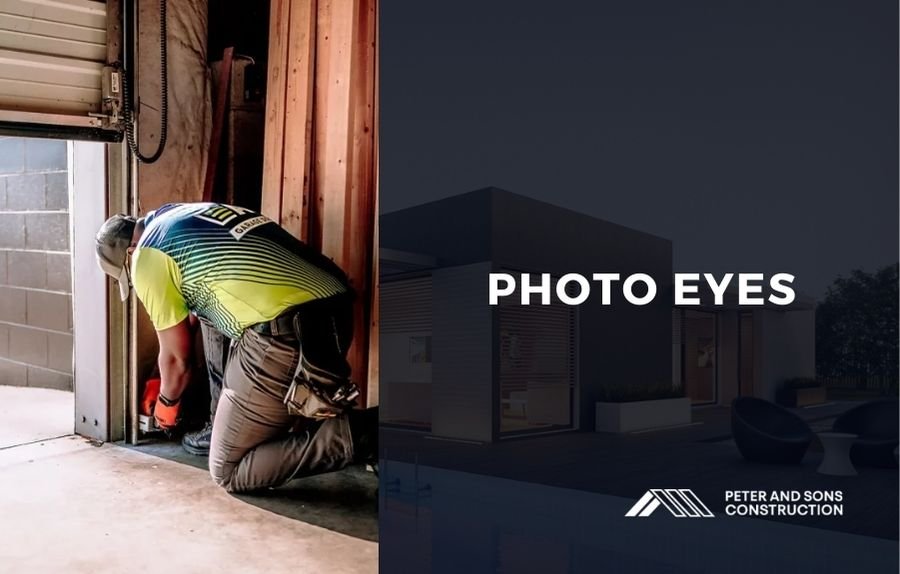
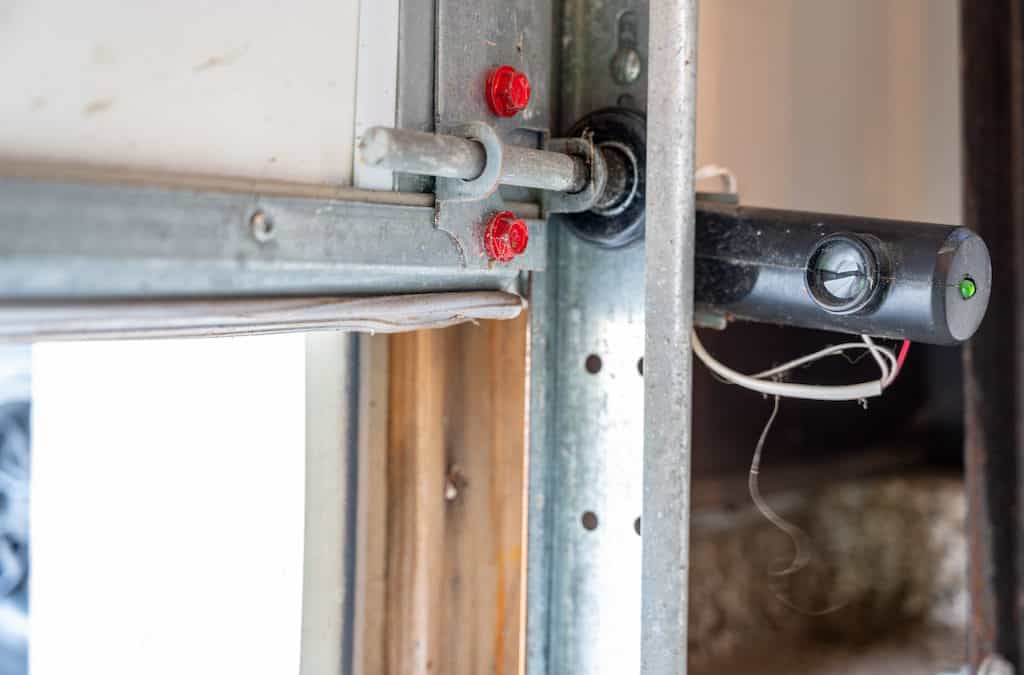
2. Position the Photo Eyes
Photo eyes need to be installed on either side of the garage door, about 6 inches above the ground.
Use your measuring tape to ensure they are at the same height. This alignment is crucial for the sensors to work correctly.
3. Mount the Sensors
Most photo eye sensors come with brackets. Attach these brackets to the walls or the tracks of your garage door using the provided screws.
Make sure the sensors are facing each other directly. This is important as any misalignment can cause the sensors to malfunction.
4. Run the Wires
Now, you need to connect the photo eyes to the garage door opener. Start by running the wires from the sensors to the opener.
If your garage has pre-existing wiring channels or conduits, use them for a neater installation.
5. Connect the Wires
Using your wire strippers, remove about half an inch of insulation from the ends of the wires. Typically, you’ll have two wires: one for power and one for signal.
Connect these wires to the corresponding terminals on the garage door opener. Most openers will have clearly marked terminals for the photo eyes.
6. Secure the Wires
Once the wires are connected, use wire nuts to secure the connections. Wrap these with electrical tape to ensure they stay in place and are insulated.
Tidy up any loose wires using cable ties or clips, keeping them away from any moving parts of the garage door.
7. Align the Sensors
With the sensors mounted and wired, plug in the garage door opener. The sensors typically have indicator lights.
If they are aligned correctly, the lights should be steady. If they blink or are off, you might need to adjust the position slightly until the alignment is perfect.
8. Test the System
Close the garage door using the opener. Then, wave an object in front of the photo eyes to test if the door stops and reverses.
This test ensures the sensors are functioning correctly. Repeat the test a few times to be sure.
9. Final Adjustments
If everything works correctly, tighten all the screws and double-check the wire connections. Make sure the sensors are secure and the wires are neatly fastened.
Troubleshooting Tips
Lights Not Working
If the indicator lights on the sensors are not lit, check the power connections. Make sure the wires are properly connected and not damaged.
Misalignment
If the door does not reverse when an object is placed in front of the sensors, recheck the alignment. The sensors must face each other directly without any obstruction.
Intermittent Issues
If the sensors work inconsistently, there might be loose wires or the sensors could be dirty. Clean the sensors with a soft cloth and check all wire connections.
Ensuring Safety with Photo Eyes
Wiring photo eyes to a commercial garage door is a task that enhances safety significantly.
When you follow these steps, you can ensure your garage door operates smoothly and securely. Properly installed photo eyes prevent accidents and protect property, giving you peace of mind.
If you find the process challenging or need professional assistance, Peter and Sons offer expert installation services.
Their experienced team can handle the wiring and ensure your system is set up correctly. For more information, visit their website at Peter and Sons.
When you learn how to wire photo eyes to a commercial garage door, you not only comply with safety standards but also ensure a safer environment for everyone using the door.