February 2025
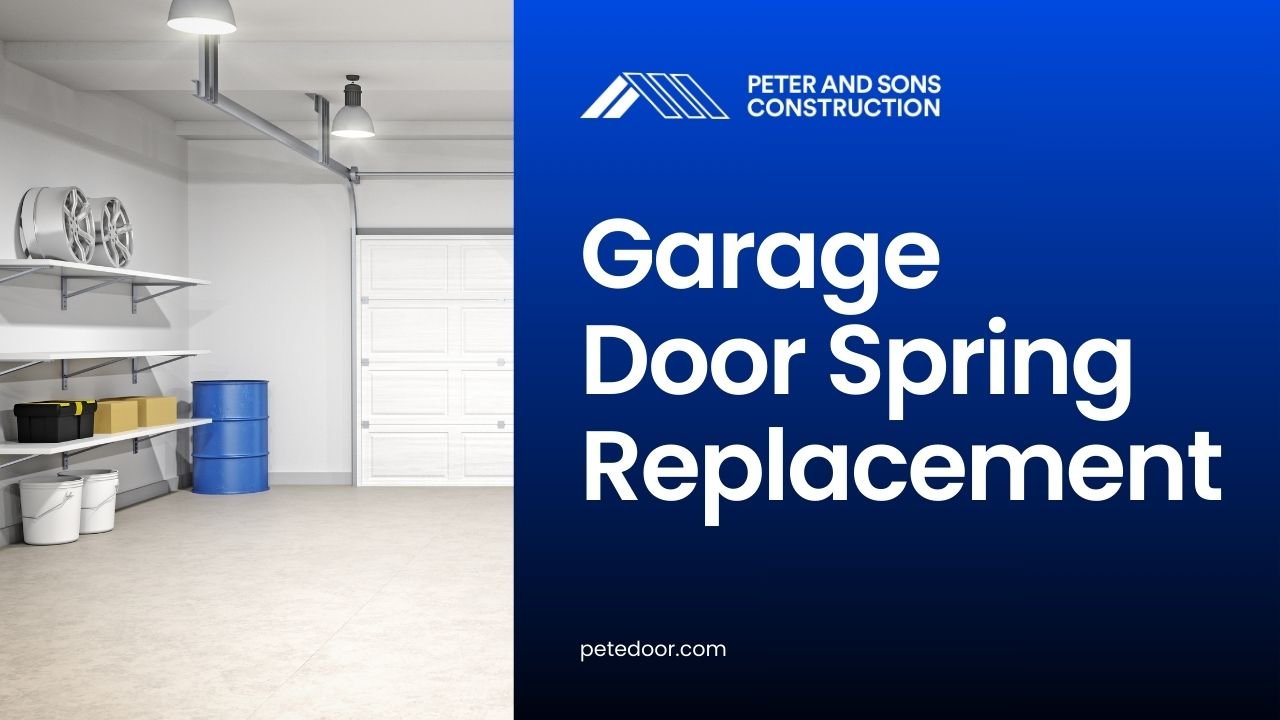
Garage doors are essential components of our homes, providing security and convenience.
At the heart of their operation are the springs, which counterbalance the door’s weight, making it easy to open and close.
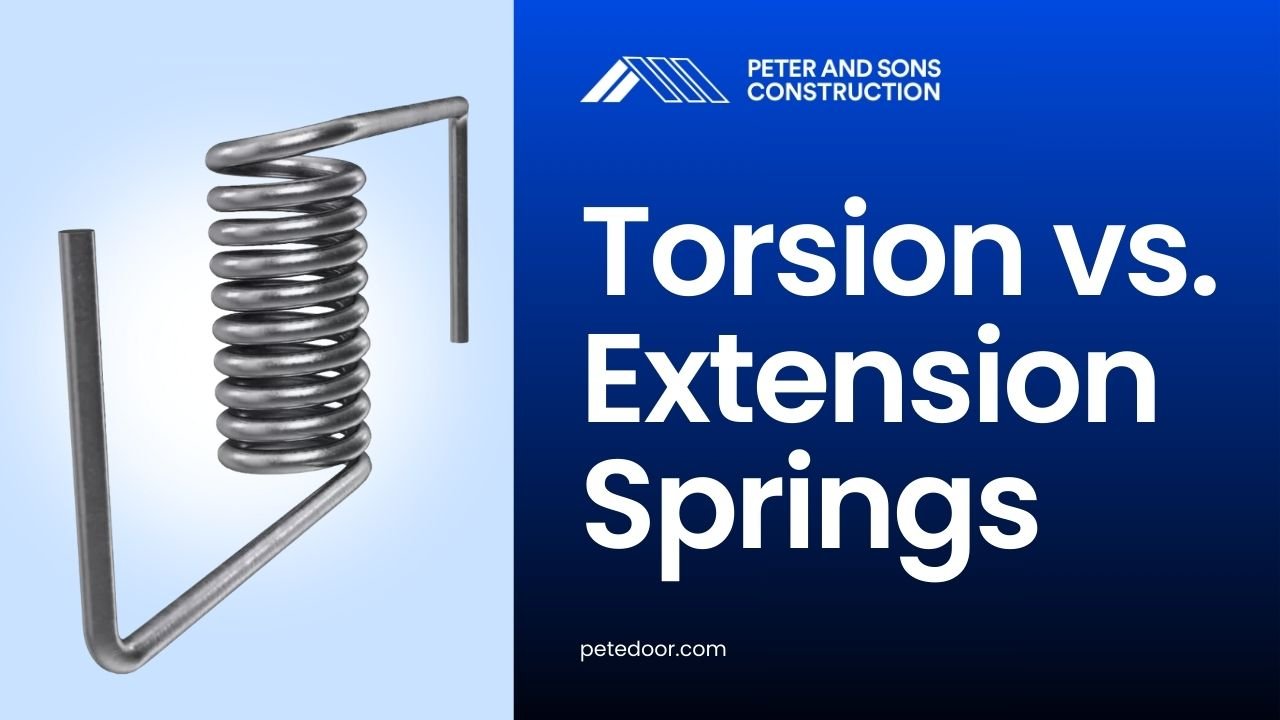
There are two primary types of garage door springs: torsion and extension springs.
Understanding their differences is crucial for homeowners looking to maintain or replace their garage door systems.
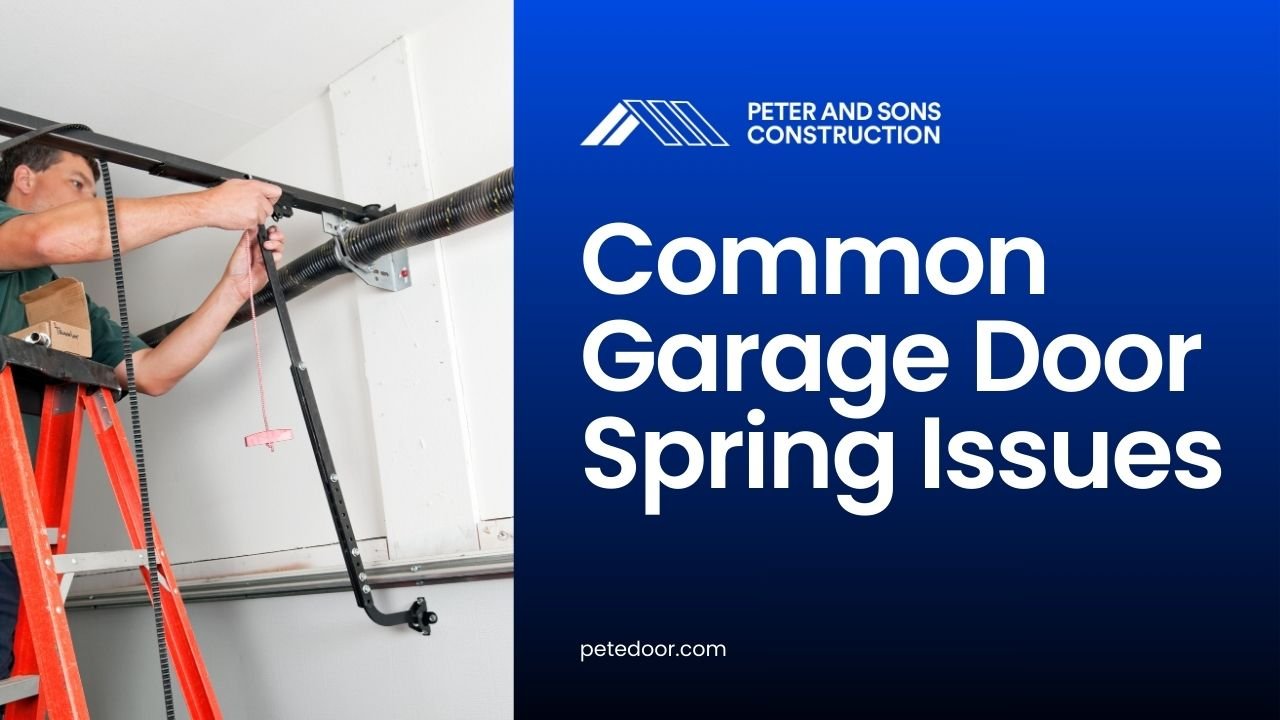
Understanding Torsion Springs
Torsion springs are mounted above the garage door opening on a metal shaft. They operate by twisting and storing mechanical energy to lift and lower the door.
According to Garage Insiders, mishandling torsion springs can lead to the spring snapping, releasing large amounts of stored energy and potentially causing severe injury or death.
Here’s what you need to know about torsion springs:
- Design and Functionality– Torsion springs use torque to balance the garage door’s weight. When the door closes, the springs wind up, storing energy. As the door opens, the springs unwind, releasing energy to lift the door smoothly.
- Durability– Torsion springs are known for their longevity. They distribute weight evenly across the door, reducing wear and tear on other components. This design often results in a longer lifespan compared to extension springs.
- Safety Considerations– While torsion springs are generally safer due to their controlled motion, improper handling during installation or maintenance can lead to injuries. It’s advisable to consult professionals for tasks involving torsion springs.
Exploring Extension Springs
Extension springs are typically installed on either side of the garage door, running parallel to the horizontal tracks.
They function by extending and contracting to counterbalance the door’s weight.
Key aspects of extension springs include:
- Design and Functionality– Extension springs stretch when the door is closed, storing energy. As the door opens, the springs contract, releasing the stored energy to assist in lifting the door.
- Durability– Extension springs are generally less durable than torsion springs. Their stretching action can lead to more wear and tear, necessitating more frequent replacements.
- Safety Considerations– Extension springs can pose safety risks if they break, as they may snap and cause injury or property damage. Safety cables are essential to contain the spring if it fails.
Comparative Analysis Between Torsion and Extension Springs
When deciding between torsion and extension springs, consider the following factors:
- Installation and Maintenance– Torsion springs require precise installation and are typically more complex to set up. Extension springs are simpler but may require more frequent maintenance due to their design.
- Cost Implications– Extension springs are usually less expensive upfront. However, their shorter lifespan and potential safety hazards might lead to higher costs over time. Torsion springs, while more costly initially, often prove more economical in the long run due to their durability.
- Safety and Performance– Torsion springs offer smoother operation and are generally safer when properly maintained. Extension springs, without safety cables, can be hazardous if they break.
Safety Statistics and Considerations
Garage door springs, if not properly maintained or installed, can lead to accidents.
According to the National Electronic Injury Surveillance System (NEISS), over 2,000 people are crushed by garage doors annually, with many incidents related to malfunctioning springs.
Regular inspections and maintenance are crucial to ensure safety.
Making an Informed Choice
Choosing between torsion and extension springs depends on your specific needs, budget, and safety considerations.
Torsion springs offer durability and smoother operation, while extension springs are more affordable but may require more maintenance.
For residents in the greater Chicago area, Peter and Sons Construction provides expert advice and installation services to help you make the best choice for your garage door system.
Visit their website at www.petedoor.com for more information.
You might like these