dev
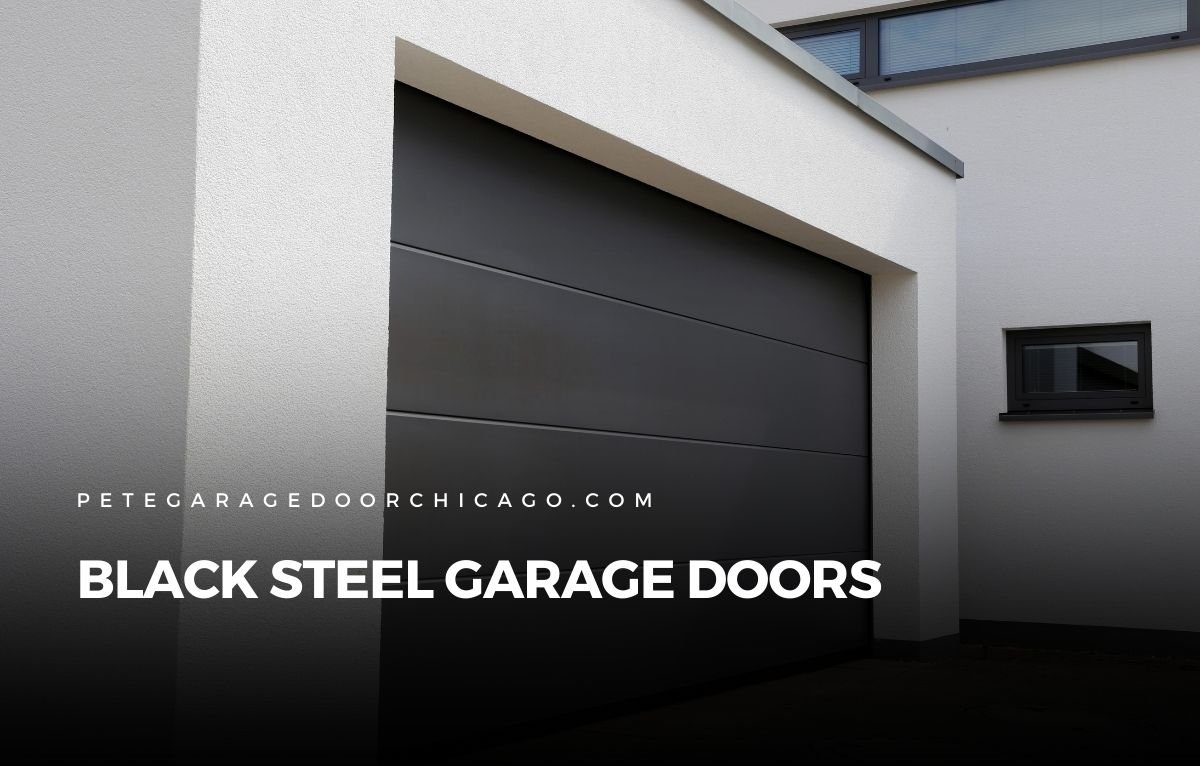
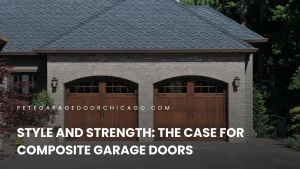
Choosing the right garage door can transform a home’s exterior, and black steel garage doors are becoming a favorite for their striking, bold presence. These doors combine crisp lines with a deep, rich tone that adds modern flair to many architectural styles.
Unlike lighter colors that recede visually, black steel doors anchor the facade and create contrast with siding, trim, and landscaping. This look works particularly well for homeowners who want a garage that feels integrated with the home’s overall design, not just a functional afterthought.
Black steel garage doors also fit a wide range of materials and styles. From classic brick homes to sleek contemporary builds, the right garage door choice brings visual balance and depth.
Because steel is inherently strong and often low maintenance, the material pairs well with designs that value durability alongside style. When selected thoughtfully, a black steel garage door enhances curb appeal and reinforces architectural intention.
Architectural Styles That Complement Black Steel Garage Doors
Black steel garage doors can enhance many types of homes, but some architectural styles tend to pair with them especially well.
1. Modern and Contemporary Homes
Modern homes with flat planes, straight lines, and minimal ornamentation are natural fits for black steel garage doors. The sharp contrast of black against lighter exterior finishes like white stucco, pale brick, or light wood siding creates a bold silhouette. Large glass windows and simple landscaping further highlight the clean look, making the garage door a strong design feature rather than a background piece.
2. Industrial‑Influenced Residences
Homes with industrial cues—exposed materials, steel accents, and utilitarian details—pair well with black steel garage doors. These doors echo the aesthetic of black metal frames, concrete accents, and dark trim, giving the exterior a cohesive and intentional look.
In neighborhoods with repurposed warehouse homes, loft conversions, or contemporary builds that pull from industrial design, a black steel garage door reinforces the theme.
3. Transitional Exteriors
Transitional homes blend traditional structures with contemporary updates. For these homes, black steel garage doors serve as a bridge between classic and modern elements. The bold color adds a fresh edge, while the steel material keeps the door grounded and practical.
Transitional homes often mix materials like stone, wood, and siding. A dark garage door offers a neutral yet dramatic counterpoint that frames the design.
Because steel can be finished with subtle texture or sheen, it adapts to many tones and materials without clashing.
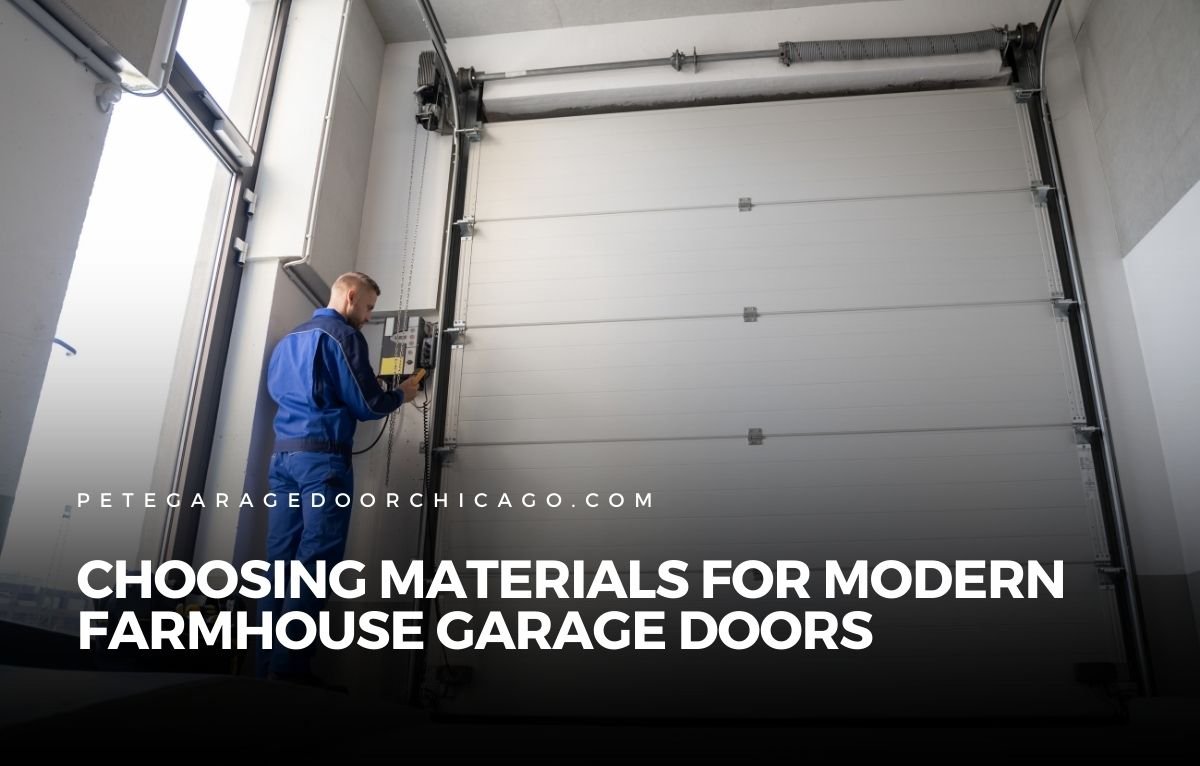
How Materials and Finishes Work With Black Steel
Choosing materials and finishes that work with black steel garage doors supports both function and form. Steel is known for strength, but the finish you choose affects how the door ages and reacts to light.
Material and finish options to consider include:
- Matte or satin black finishes — These reduce glare and keep reflections soft, which pairs well with modern aesthetics.
- Textured steel — A light texture can add depth to the surface and help hide minor scratches or dust.
- Contrasting trim — Light trim around the door opening (white, cream, or natural stone) highlights the black surface without making it feel heavy.
Steel doors also integrate well with glass accents, wood overlays, or mixed materials. For example, adding horizontal glass panels near the top of a black steel door introduces light to the garage interior and softens the visual weight. Wood trim elements placed nearby can warm the exterior without diminishing the modern impact of the door.
Selecting a finish that complements your home’s tones and materials helps unify the design and avoids a look that feels disconnected or out of place.
Color and Landscape Pairing
Black steel garage doors can be bold, but the surrounding colors influence how dramatic the effect feels. Light exterior colors—like pale grays, white, and muted beiges—offer high contrast that makes the door stand out. Darker homes with charcoal or deep blue siding still pair well with black doors, especially when trim or accent features create layered tones.
Landscaping also contributes to overall visual balance. Green foliage, stone walkways, and natural wood elements pop against a dark garage door. Groupings of plants with lighter flowers or ornamental grasses help soften the strong visual presence of black steel, making the front elevation feel livelier and more inviting.
If your home’s facade has multiple materials, consider which ones will sit near the garage opening. Brick or stone with warm undertones can balance the cool strength of black steel. Thoughtful color coordination ensures the garage door feels like a designed piece of the whole.
Functional Benefits of Steel
Beyond its aesthetic role, steel is a strong performer for garage doors. Homeowners who choose black steel garage doors often value durability and straightforward care. Steel resists dents better than softer materials and generally requires little more than periodic cleaning with mild soap and water to maintain its appearance.
Steel also works well with insulation. Insulated steel garage doors help regulate temperatures inside the garage, which matters if the space is attached to living areas or used as a workshop. Strong insulation helps reduce heat loss in winter and keeps the space more comfortable in summer.
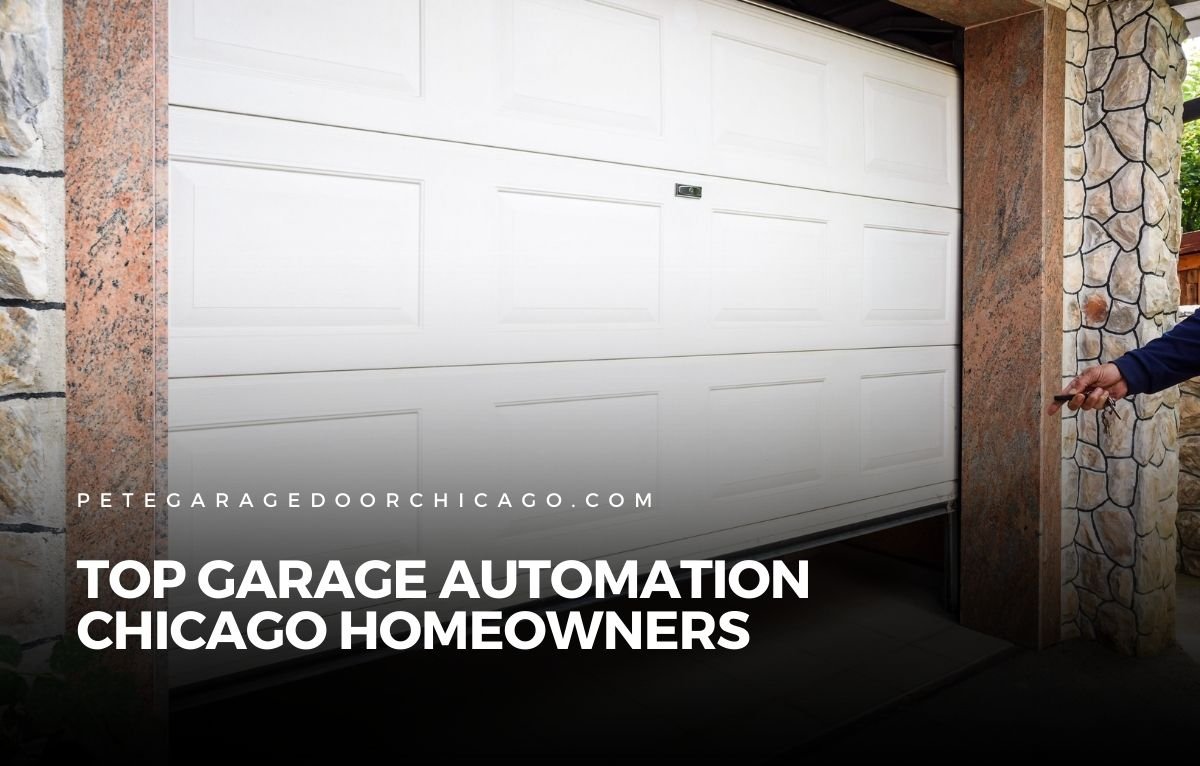
Another practical benefit is the material’s compatibility with motorized openers. Steel doors are heavy enough to feel solid but not so heavy that they strain standard opener systems when properly balanced and installed. That makes steel a versatile choice for everyday use.
Choosing Details That Match Your Style
Hardware and detail choices help define how a black steel garage door feels against your home’s architecture. Simple, low‑profile handles and hinges support clean, modern looks. More substantial hardware in black or bronze can echo traditional farmhouse or craftsman styles while still keeping the overall door surface sleek.
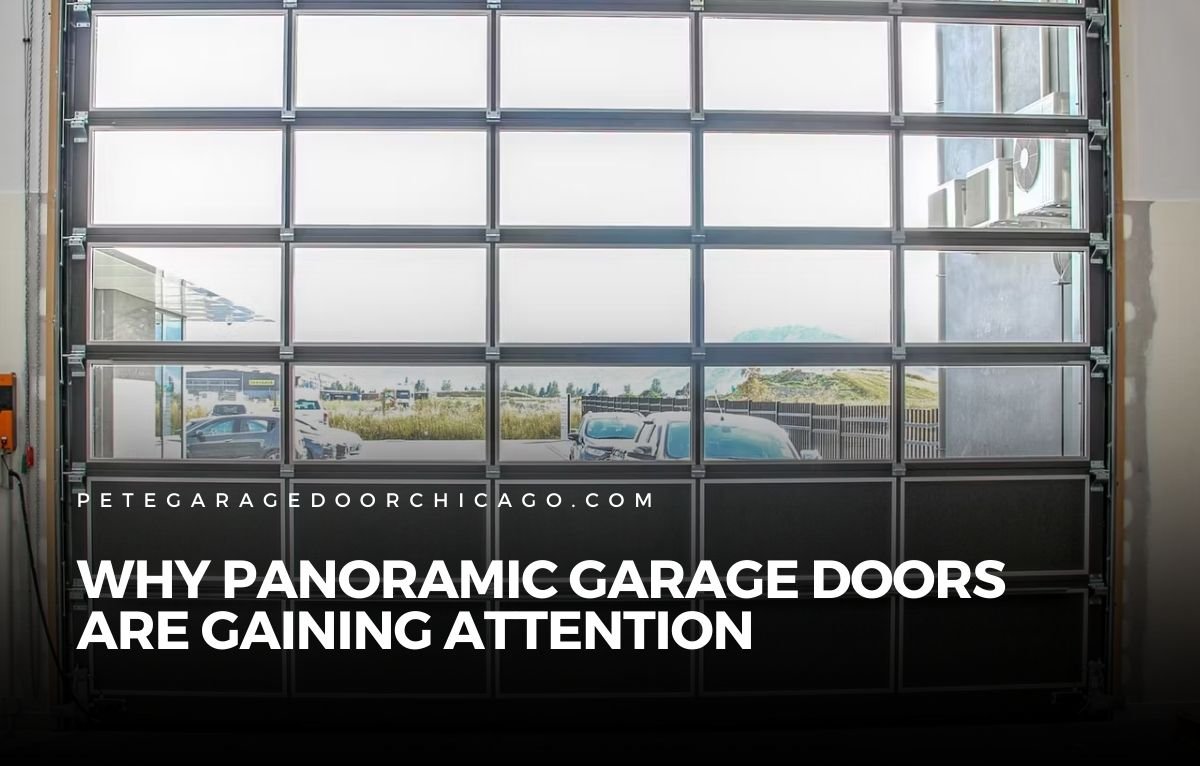
Glass panel layouts are another detail that influences style. Narrow horizontal windows across the top keep the lines clean and unobtrusive. Larger panes with minimal framing can make the space feel wider and bring light into the interior. These choices depend on how much natural light you want inside the garage and how the exterior looks from the street.
Hardware finishes that match other exterior accents—such as light fixtures, door handles, or window frames—help create a cohesive design language that ties the whole house together.
Installation and Long‑Term Performance
A professional installation supports both style and longevity. Black steel garage doors require precise alignment, balanced springs, and secure hardware to operate smoothly over time. Improper installation can lead to uneven wear, noise, or alignment problems that affect both function and appearance.
Routine maintenance focuses mainly on tracking, weather seals, and lubrication of moving parts. Steel surface care is minimal, usually involving periodic cleaning and inspection for surface dust or debris. That low maintenance level is one reason homeowners appreciate steel when paired with dramatic finishes like black.
Black Steel Garage Doors
Black steel garage doors bring bold design and reliable performance to many architectural styles. They work with modern, transitional, and industrial‑influenced homes, adding a strong visual statement that enhances overall exterior design.
The material’s durability and low maintenance support long‑term satisfaction, and thoughtful pairing with colors, trim, and landscape ensures a cohesive look.
If you are considering new garage doors and want help selecting materials, finishes, and styles that work with your home’s architecture, professional guidance can make the process easier and more confident. Peter and Sons Construction offers experienced support in exploring garage door options and ensuring quality installation tailored to your design goals and functional needs.
You might like these