Mastering Garage Door Opener Remote Programming

Mastering Garage Door Opener Remote Programming

Mastering Garage Door Opener Remote Programming

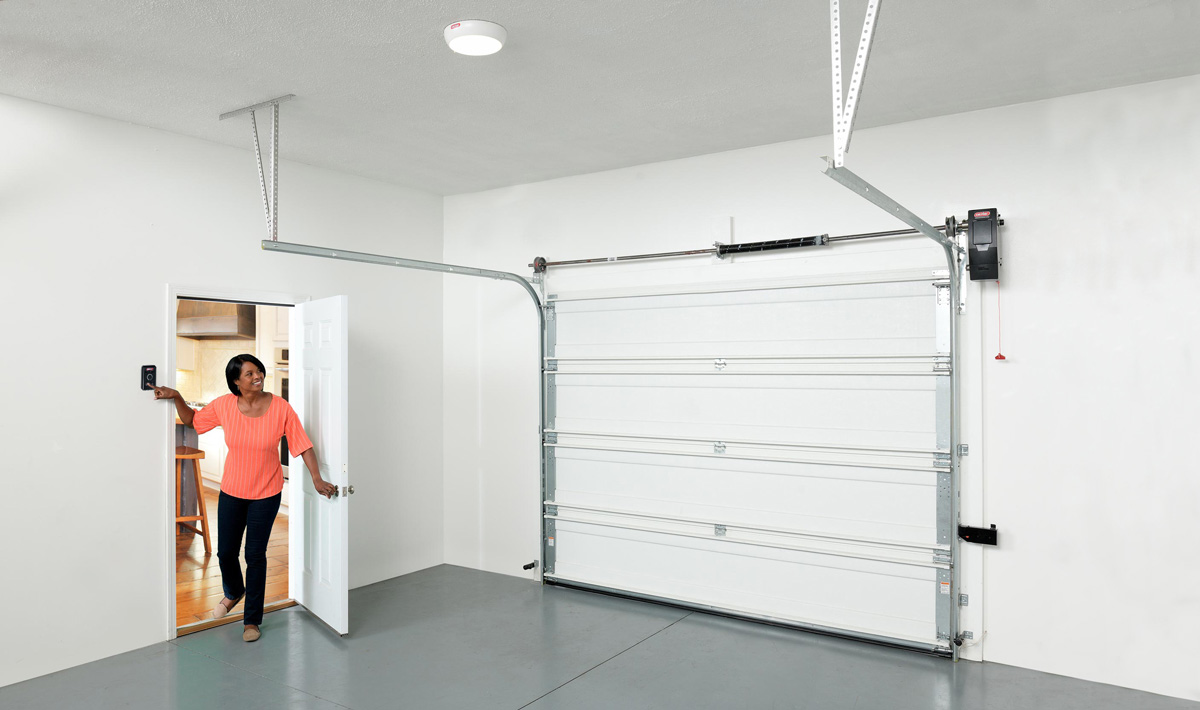
Programming your garage door opener remote is a straightforward process that can enhance the convenience and security of your home. Whether you’re setting up a new remote or reprogramming an existing one, understanding the steps involved is crucial. This article provides a detailed guide on garage door opener remote programming, ensuring that your remote functions seamlessly.

Understanding Your Garage Door Opener System

Identify Your Garage Door Opener Type

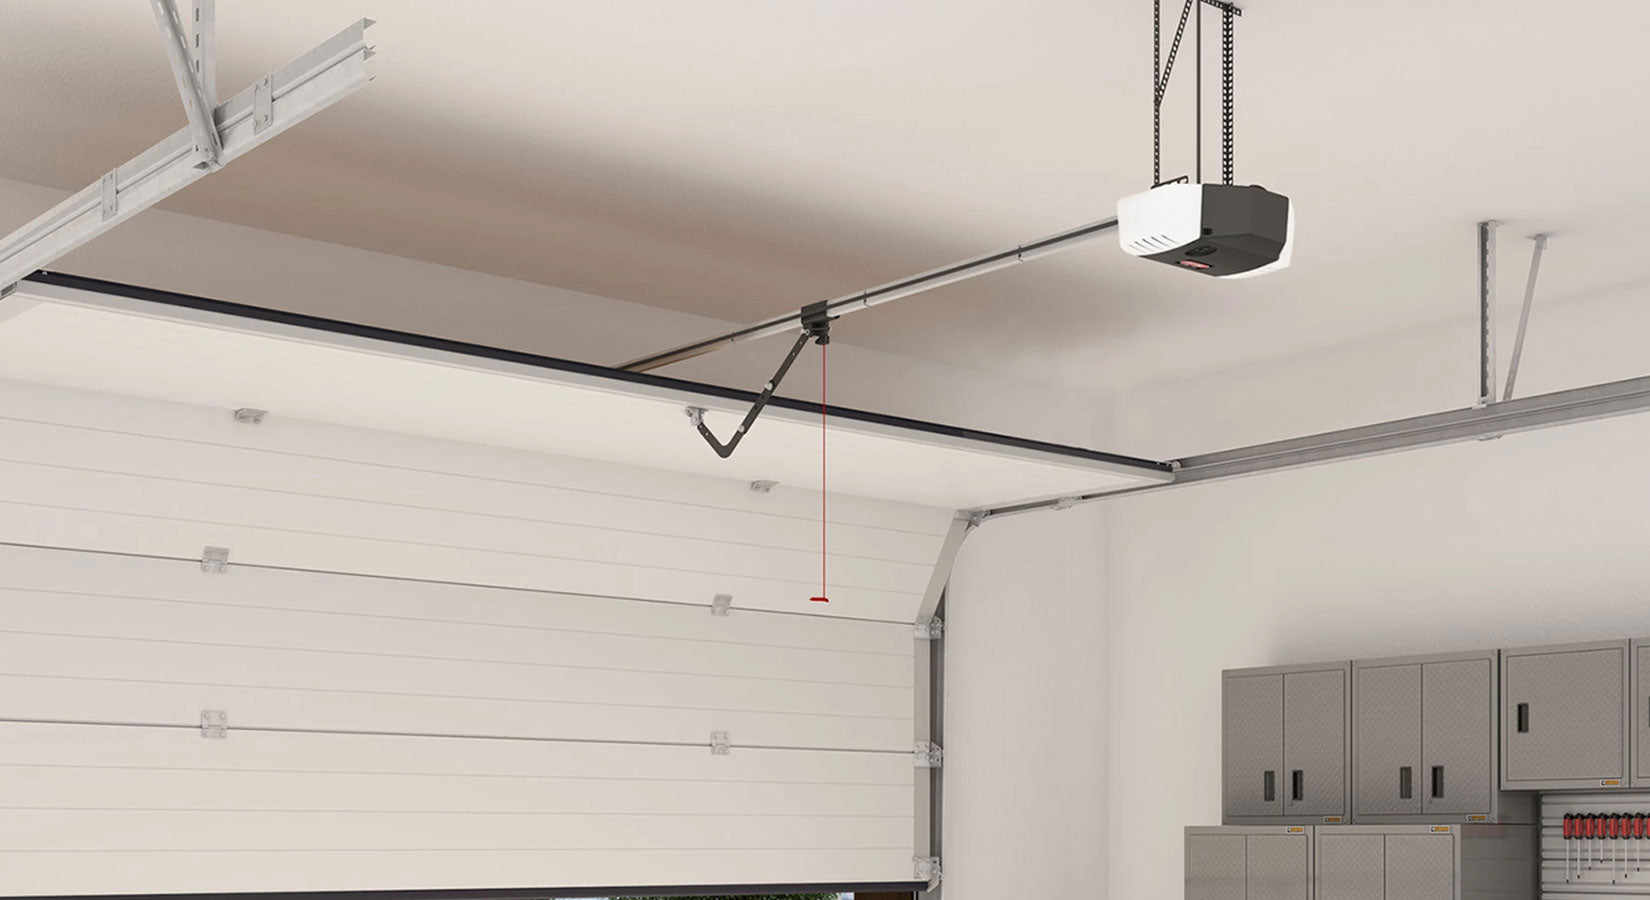
Before starting the programming process, it’s essential to identify the type of garage door opener you have. Most systems fall into one of the following categories:

  • Standard openers: Operate with a remote control and a wall-mounted button.
  • Smart openers: Can be controlled via a smartphone app in addition to a remote.

Locate the Learn Button

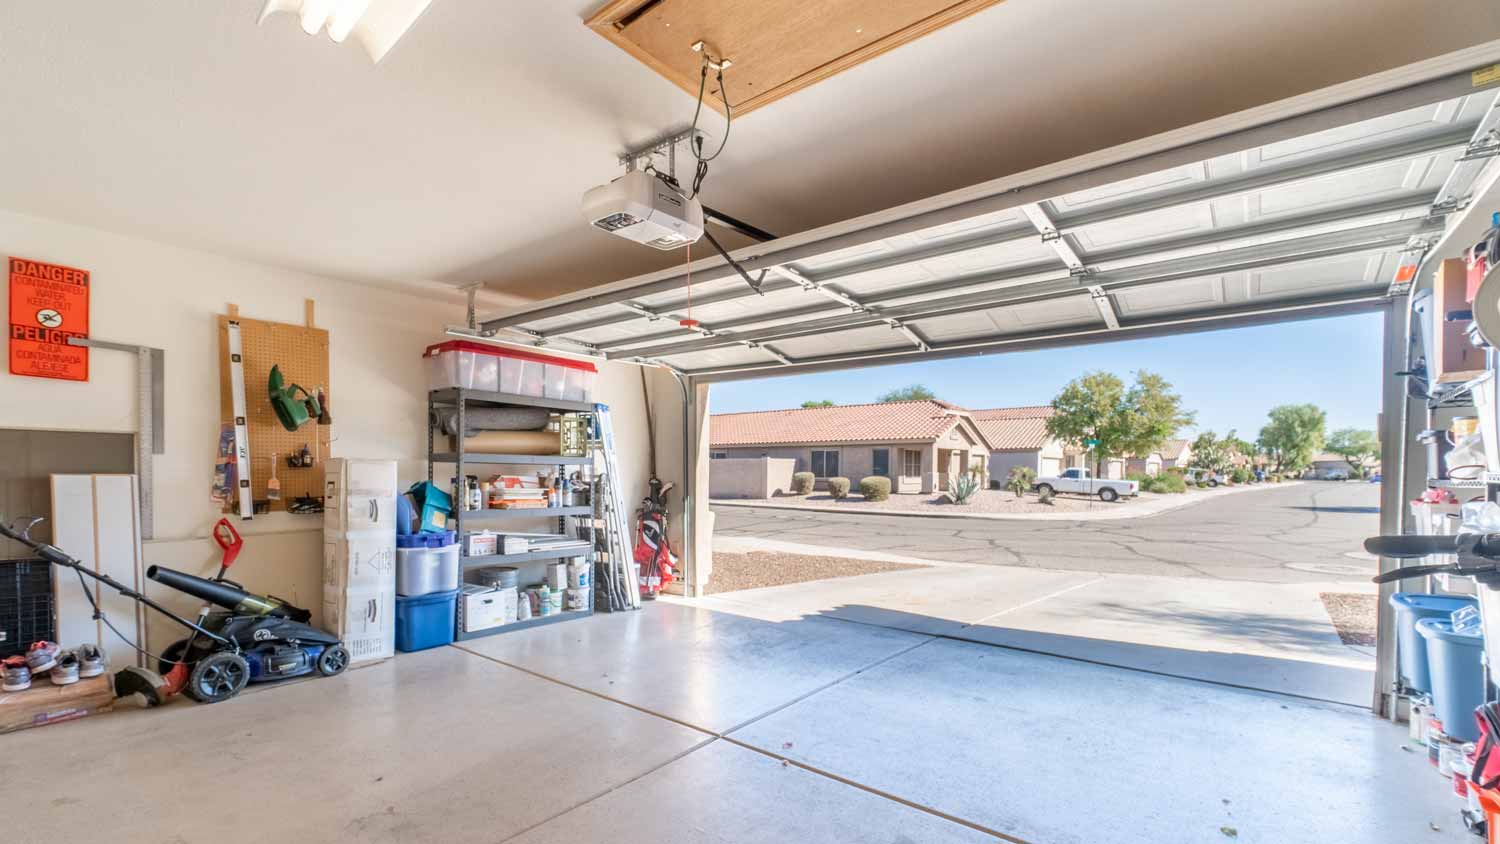
The learn button on your garage door opener is critical for programming the remote. It is usually found on the back or side of the motor unit. It may be labeled as “Learn,” “Program,” or “Set.”

  • Common locations: Typically near the antenna wire or light cover.
  • Color-coded: The button may be red, yellow, green, or purple, depending on the manufacturer.

Steps to Program Your Garage Door Opener Remote

Step 1: Prepare Your Equipment

Gather all the necessary equipment before you begin the programming process. This includes your garage door opener remote, a ladder to reach the motor unit, and your garage door opener manual.

  • Check the remote: Ensure the remote has fresh batteries.
  • Manual reference: Keep the manual handy for specific instructions.

Step 2: Access the Learn Button

To start the programming process, you need to access the learn button on your garage door opener.

  • Use a ladder: Safely position a ladder to reach the motor unit.
  • Locate the button: Identify the learn button based on its color and label.

Step 3: Press the Learn Button

Once you have located the learn button, you need to press it to enter programming mode.

  • Press and release: Press the learn button briefly and release it. The indicator light will turn on, indicating that the unit is ready to program.

Step 4: Program the Remote

With the garage door opener in programming mode, it’s time to program the remote.

  • Press the remote button: Within 30 seconds of pressing the learn button, press and hold the button on your remote control that you wish to program.
  • Watch for confirmation: The opener’s indicator light will blink or turn off, confirming that the remote has been programmed successfully.

Step 5: Test the Remote

After programming, it’s essential to test the remote to ensure it works correctly.

  • Operate the door: Press the remote button to open or close the garage door.
  • Check the range: Test the remote from various distances to ensure it works from your typical approach to the garage.

Troubleshooting Common Issues

Remote Not Working

If the remote does not work after programming, try these troubleshooting steps:

  • Repeat the steps: Go through the programming steps again to ensure accuracy.
  • Check the battery: Replace the remote’s battery with a fresh one.
  • Consult the manual: Refer to your garage door opener’s manual for additional troubleshooting tips.

Interference Issues

Sometimes, interference can affect the remote’s functionality. Here’s how to address it:

  • Remove obstructions: Ensure there are no objects blocking the signal between the remote and the opener.
  • Change the frequency: Some garage door openers allow you to change the operating frequency to avoid interference.

Advanced Programming Features

Multi-Button Remotes

If your remote has multiple buttons, you can program each button to control a different door or function.

  • Repeat programming: Follow the same programming steps for each button, pressing the learn button before each new programming sequence.
Smart Garage Door Openers

For smart garage door openers, you can integrate your remote with smartphone apps for added convenience.

  • Download the app: Install the manufacturer’s app on your smartphone.
  • Follow app instructions: Use the app’s guidelines to sync your remote and smartphone for seamless control.

Conclusion

Properly programming your garage door opener remote ensures reliable and convenient access to your garage. By following these steps, you can easily set up or reprogram your remote. If you encounter any issues or need professional assistance, contact Peter and Sons. Our experienced team is ready to help you with all your garage door needs, ensuring smooth and secure operation of your garage door system. Call us today to schedule a consultation and enhance your garage door experience!

Choosing the Right Battery Type for Your Garage Door Opener

Choosing the Right Battery Type for Your Garage Door Opener

Choosing the Right Battery Type for Your Garage Door Opener

When it comes to maintaining the efficiency and reliability of your garage door opener, selecting the correct battery type is crucial. The battery not only powers the opener but also ensures that it functions seamlessly, even during power outages. In this article, we will explore various garage door opener battery types, their benefits, and tips for maintaining them to ensure your garage door operates smoothly.

Understanding Garage Door Opener Batteries

Why Battery Type Matters

Choosing the right garage door opener battery type is essential for:

  • Reliability: Ensures consistent performance.
  • Longevity: Extends the lifespan of the opener.
  • Compatibility: Matches the specific requirements of your garage door opener model.

Common Battery Types

There are several types of batteries used in garage door openers, each with its own set of advantages and applications.

Types of Garage Door Opener Batteries

Alkaline Batteries

Alkaline batteries are commonly used in remote controls for garage door openers.

  • Advantages: Widely available, inexpensive, and reliable for short-term use.
  • Disadvantages: Limited lifespan and frequent replacements needed.

Lithium Batteries

Lithium batteries are known for their long lifespan and reliability.

  • Advantages: Longer-lasting than alkaline batteries, lightweight, and performs well in extreme temperatures.
  • Disadvantages: Higher cost compared to alkaline batteries.

Nickel-Metal Hydride (NiMH) Batteries

NiMH batteries are rechargeable and environmentally friendly.

  • Advantages: Rechargeable, reducing waste and long-term costs; better performance than alkaline in some devices.
  • Disadvantages: Initial cost is higher and requires a charger.

Sealed Lead-Acid (SLA) Batteries

SLA batteries are commonly used for backup power in garage door openers.

  • Advantages: Reliable backup power, long-lasting, and good performance in various temperatures.
  • Disadvantages: Heavier and more expensive than other types; requires proper disposal due to lead content.

Choosing the Right Battery for Your Garage Door Opener

Compatibility

Ensure the battery you choose is compatible with your garage door opener model.

  • Check the manual: Refer to the garage door opener’s manual for recommended battery types.
  • Consult the manufacturer: Contact the manufacturer if unsure about compatibility.

Performance Needs

Consider your specific needs for performance and reliability.

  • Backup power: Choose SLA batteries for reliable backup power.
  • Frequent use: Lithium or NiMH batteries are better for frequent use due to their longer lifespan.

Cost and Longevity

Balance cost and longevity to find the best value.

  • Initial cost vs. long-term savings: While lithium and NiMH batteries have a higher upfront cost, they can save money over time with fewer replacements needed.

Maintenance Tips for Garage Door Opener Batteries

Regular Inspection

Regularly inspect your batteries to ensure they are in good working condition.

  • Check for corrosion: Look for any signs of corrosion on the battery terminals.
  • Test performance: Use a multimeter to check the battery’s charge level.

Proper Storage

Store batteries correctly to extend their lifespan.

  • Cool, dry place: Store batteries in a cool, dry place away from direct sunlight and extreme temperatures.
  • Avoid full discharge: For rechargeable batteries, avoid letting them discharge completely before recharging.

Timely Replacement

Replace batteries as needed to ensure uninterrupted performance.

  • Follow manufacturer guidelines: Adhere to the manufacturer’s recommended replacement schedule.
  • Monitor performance: Replace batteries if you notice a decline in performance or frequent need for recharging.

Benefits of Using the Right Battery

Improved Reliability

Using the correct battery type ensures your garage door opener operates reliably.

  • Consistent performance: Reduces the risk of unexpected failures.
  • Backup power: Ensures the garage door opener works even during power outages.

Enhanced Longevity

Choosing and maintaining the right battery type extends the lifespan of your garage door opener.

  • Fewer replacements: Reduces the frequency of battery replacements.
  • Reduced wear and tear: Minimizes strain on the garage door opener.

Cost Savings

Investing in the right battery type can lead to cost savings over time.

  • Fewer purchases: Long-lasting batteries reduce the need for frequent replacements.
  • Lower maintenance costs: Proper maintenance and battery choice can lower overall maintenance costs.

Conclusion

Selecting the right garage door opener battery type is crucial for ensuring reliable performance and longevity of your garage door system. By understanding the different types of batteries and their benefits, you can make an informed decision that best suits your needs. For professional assistance and expert advice on garage door maintenance, contact Peter and Sons. Our experienced team is ready to help you keep your garage door operating smoothly and efficiently. Call us today to schedule a consultation and ensure your garage door system is always in top condition!

Choosing the Right Battery Size for Your Garage Door Opener

Choosing the Right Battery Size for Your Garage Door Opener

Choosing the Right Battery Size for Your Garage Door Opener

Maintaining a functional garage door opener is essential for convenience and security. One critical component that ensures the reliable operation of your garage door opener is the battery. Knowing the correct garage door opener battery size is crucial for keeping your system running smoothly. This article will provide an in-depth look at garage door opener battery sizes, how to choose the right one, and tips for maintaining your opener.

Understanding Garage Door Opener Batteries

Types of Batteries

Garage door openers typically use two main types of batteries:

  • Alkaline batteries: Commonly used in remote controls and keypads.
  • Rechargeable batteries: Used in backup power systems to keep the opener functioning during power outages.

Importance of the Right Battery Size

Using the correct battery size ensures that your garage door opener operates efficiently. An incorrect battery size can lead to poor performance or even damage to the opener.

  • Optimal performance: Ensures the opener functions correctly.
  • Longevity: Helps extend the lifespan of the opener and its components.
  • Safety: Prevents malfunctions that could compromise security.

Identifying Your Garage Door Opener Battery Size

Checking the Manual

The most reliable way to determine the correct battery size is by consulting the owner’s manual for your garage door opener. The manual will specify the recommended battery type and size.

  • Locate the manual: Find the manual that came with your garage door opener.
  • Look for battery specifications: Check the section detailing the battery requirements.

Inspecting the Current Battery

If the manual is not available, you can check the existing battery for size and type information.

  • Remove the battery: Carefully take out the current battery from the opener or remote.
  • Read the label: Look for size, type, and voltage information printed on the battery.

Manufacturer’s Website

Visiting the manufacturer’s website can also provide you with the necessary information about the correct battery size for your garage door opener.

  • Search by model: Enter your garage door opener model number on the manufacturer’s website.
  • Find battery details: Look for battery size and replacement information.

Common Battery Sizes for Garage Door Openers

Remote Controls

Remote controls for garage door openers typically use smaller batteries, such as:

  • AAA batteries: Common in various remote controls.
  • A23 batteries: A smaller, 12-volt battery often used in garage door opener remotes.
  • CR2032 batteries: A coin cell battery used in some modern remotes.

Backup Power Systems

For garage door openers with backup power systems, the battery sizes can vary. Some common types include:

  • 12V 4.5Ah batteries: Often used in backup power units.
  • 12V 7Ah batteries: Another common size for backup power systems, providing longer runtime.

Keypads

Wireless keypads may also require specific battery sizes, such as:

  • 9V batteries: Commonly used in keypads.
  • AAA or AA batteries: Depending on the keypad model.

Replacing Your Garage Door Opener Battery

Steps for Replacement

Replacing the battery in your garage door opener or remote control is a straightforward process. Follow these steps to ensure a successful replacement:

  • Turn off the power: For safety, turn off the power to the garage door opener if replacing a backup battery.
  • Open the battery compartment: Use a screwdriver if necessary to access the battery compartment.
  • Remove the old battery: Take out the old battery and dispose of it properly.
  • Insert the new battery: Place the new battery in the compartment, ensuring correct polarity.
  • Close the compartment: Secure the battery compartment and restore power if applicable.

Testing the New Battery

After replacing the battery, test the garage door opener to ensure it is functioning correctly.

  • Test the remote: Press the buttons to verify the opener responds.
  • Check the opener: Open and close the garage door to confirm proper operation.

Maintenance Tips for Garage Door Opener Batteries

Regular Checks

Perform regular checks on your garage door opener batteries to ensure they are in good condition.

  • Monthly inspections: Check the battery for corrosion or leaks.
  • Replace as needed: Change the battery if it shows signs of wear or damage.

Keep Spares Handy

Having spare batteries on hand can prevent downtime if a battery fails.

  • Stock up: Keep extra batteries of the correct size in your home.
  • Rotate stock: Use older batteries first to ensure freshness.

Conclusion

Understanding and selecting the correct garage door opener battery size is essential for maintaining smooth and reliable operation. By consulting your manual, inspecting your current battery, and following the manufacturer’s recommendations, you can ensure optimal performance and longevity of your garage door opener. For professional assistance with garage door maintenance and battery replacement, contact Peter and Sons. Our experienced team is ready to help with all your garage door needs. Call us today to schedule an appointment and keep your garage door system running smoothly!


Easy Guide to Garage Door Opener Battery Change

Easy Guide to Garage Door Opener Battery Change

Top Signs Your Commercial Garage Door Rollers Need Replacement

Maintaining a functional garage door opener is crucial for home security and convenience. One essential aspect of this maintenance is regularly performing a garage door opener battery change. This simple yet vital task ensures that your garage door operates smoothly without interruptions. In this guide, we’ll walk you through the process of changing the battery in your garage door opener, from identifying the signs of a low battery to completing the replacement.

Recognizing the Need for a Battery Change

Signs of a Weak Battery

Identifying when it’s time to change your garage door opener battery is essential for uninterrupted operation. Common signs that indicate a weak or dying battery include:

  • Decreased remote range: The remote only works when you are very close to the garage door.
  • Intermittent operation: The door sometimes fails to open or close.
  • Slow response time: Delayed reaction when pressing the remote buttons.

Benefits of Timely Battery Replacement

Changing the battery in your garage door opener at the right time can offer several benefits:

  • Enhanced performance: Ensures the door operates smoothly and efficiently.
  • Increased security: Prevents unauthorized access due to a malfunctioning opener.
  • Convenience: Avoids the hassle of being locked out or having to manually operate the door.

Preparing for the Battery Change

Gather Necessary Tools and Materials

Before starting the battery change process, gather the following tools and materials:

  • New battery: Ensure it matches the specifications required by your garage door opener.
  • Small screwdriver: Typically needed to open the battery compartment.
  • Clean cloth: For cleaning the battery contacts if necessary.

Safety Precautions

Taking proper safety precautions is crucial when performing a garage door opener battery change:

  • Disconnect power: For added safety, unplug the garage door opener or turn off the circuit breaker.
  • Work in a well-lit area: Ensures you can see clearly and avoid accidents.

Step-by-Step Guide to Changing the Battery

Step 1: Locate the Battery Compartment

Start by finding the battery compartment on your garage door opener remote or wall unit:

  • Check the manual: Refer to the user manual for the exact location of the battery compartment.
  • Common locations: Typically found on the back of the remote or behind a small panel on the wall unit.

Step 2: Open the Battery Compartment

Next, open the battery compartment to access the old battery:

  • Use a screwdriver: If the compartment is secured with screws, use a small screwdriver to remove them.
  • Slide open: For compartments with a sliding cover, gently slide it open.

Step 3: Remove the Old Battery

Carefully remove the old battery from the compartment:

  • Lift out the battery: Use your fingers or a small tool to lift the battery out.
  • Check for corrosion: Inspect the battery contacts for any corrosion and clean them with a cloth if needed.

Step 4: Insert the New Battery

Insert the new battery into the compartment, ensuring correct orientation:

  • Match polarity: Align the positive and negative ends of the battery with the markings in the compartment.
  • Secure the battery: Ensure the battery fits snugly and makes proper contact with the terminals.

Step 5: Close the Battery Compartment

After inserting the new battery, close the battery compartment securely:

  • Replace screws: If applicable, reattach any screws to secure the compartment cover.
  • Slide cover: Slide the cover back into place if it has a sliding mechanism.

Testing the Garage Door Opener

Verify Proper Operation

Test the garage door opener to ensure the new battery is working correctly:

  • Press the remote button: Check if the door responds promptly to the remote control.
  • Test range: Verify that the remote works from a reasonable distance.

Troubleshooting Common Issues

If the garage door opener does not function properly after changing the battery, consider these troubleshooting steps:

  • Check battery orientation: Ensure the battery is installed correctly with the right polarity.
  • Inspect contacts: Clean any corrosion or dirt from the battery contacts.
  • Consult the manual: Refer to the user manual for additional troubleshooting tips.

Regular Maintenance Tips

Routine Battery Checks

Perform routine checks to ensure your garage door opener remains in good working condition:

  • Annual replacement: Change the battery at least once a year, even if it seems to be working fine.
  • Keep spares: Always have a spare battery on hand to avoid inconvenience.

General Maintenance

In addition to battery changes, regular maintenance of your garage door opener includes:

  • Lubricate moving parts: Apply lubricant to the door tracks, rollers, and hinges to ensure smooth operation.
  • Inspect the system: Regularly check for signs of wear and tear on the opener and door components.

Keep Your Garage Door in Top Shape

Regular maintenance, including timely battery changes, is crucial for the efficient operation of your garage door opener. By following this guide on how to perform a garage door opener battery change, you can ensure your garage door operates smoothly and reliably. For professional assistance and comprehensive garage door services, contact Peter and Sons. Our experienced team is ready to help you with all your garage door needs. Call us today to schedule an appointment and keep your garage door in top condition!